Aarrggh! and progress on Trevelyon's Cap
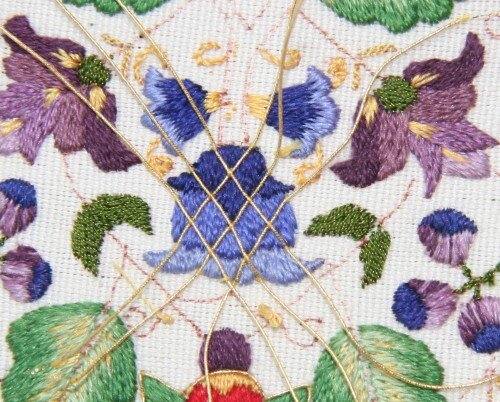
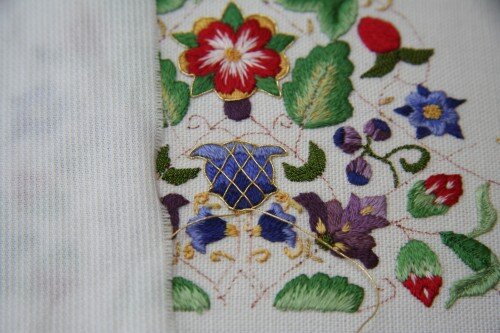
Firstly I apologize for the completely weird email all of you received yesterday. I am moving to a new email server and (obviously!) I have a lot to learn. Really, I am an embroiderer who does OK with simple computer things but I may have met my match. I thank you for your patience and, most of all, understanding.So, on to things embroidered!After edging the red rose motif on the second panel of the cap it was time to add the gold trellis work to the blue flower. I find trellis work just stunning, especially on small shapes like the flowers and the strawberries in this pattern.When working a trellis pattern, it's really important to get the spacing correct in relation to the shape of the motif on which you are laying the trellis. Spacing is everything. As you can see, the trellis work meets at the center of the top edge of the blue flower and comes off the shape at the same spot on both sides. It's the symmetry that makes it work. There's nothing much worse (in my opinion) that uneven trellis work. By it's nature it needs to be symmetrical and even all the way around, across and top to bottom. In other words, everywhere! What I find to be hugely helpful is to stitch down the ends of each gold thread that's to be used for the trellis and see how it looks. That way, if it isn't right, it's easy to pull the one tiny stitch out and replace all the threads again. Granted, this only works for a small area with a few threads; it wouldn't work on a large area. But on a larger area it's easier to accommodate slight differences from the "horizontal" and "vertical" lines. ON a small area - a VERY small area, absolutely nothing can be out of place.
 Once I'd tested the placement (and was happy with it) by tacking the threads down with one stitch at each end, I stitched double stitches at the ends for strength where the gold thread would be plunged. I then added the holding stitch where the gold threads crossed, using gold silk.
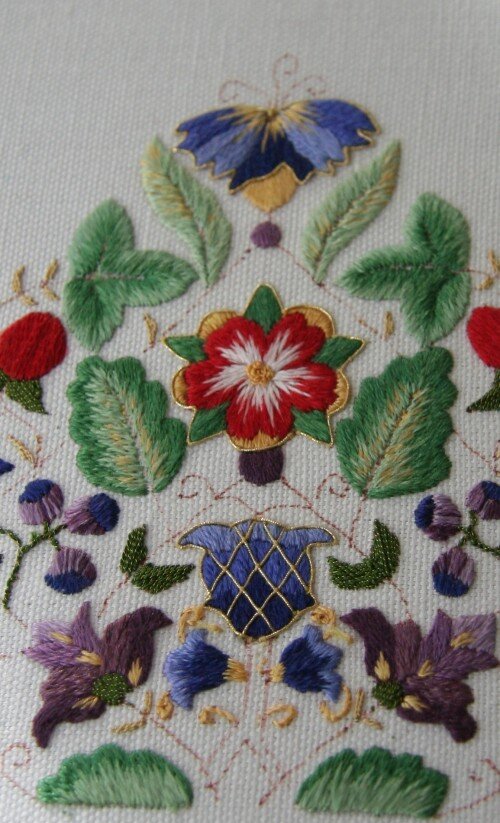
 Once all the threads from the trellis work were plunged, I outlined the shape with #7 passing thread, using the same technique as I did for the blue flower at the top of the design. I plunged these ends as well (there is a LOT of plunging in this design!)
 Now you can see all three of the motifs that have been decorated with gold. Each of them is in the center of the piece where the gold gives weight to the design. The gold is also used on all three of the largest flower motifs in the design. The leaves will have gold as the veins but not as the borders.The straight lines that connect each element of the design are all that's left to do on this panel before I move on to the next one. It's a matter of couching down straight lines of gold passing thread and then plunging all of them. I have to admit that I love this kind of work and I especially love how it looks when it's finished!
