RSN: Silk Shading finished!
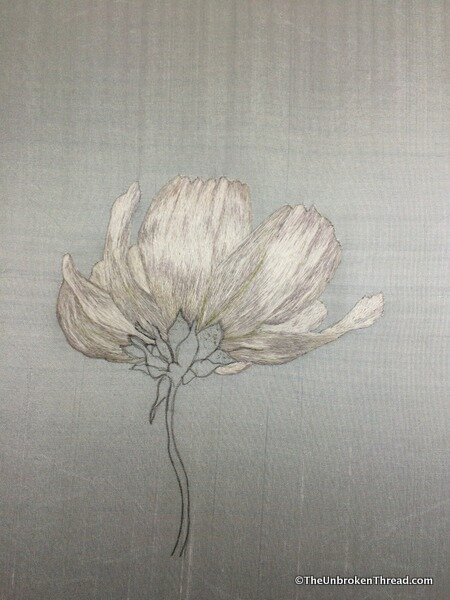
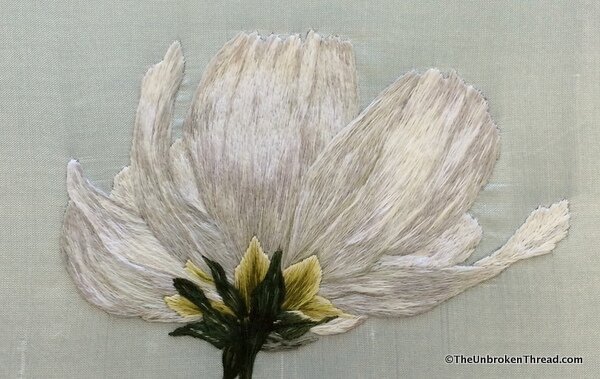
Below is a photo of my RSN Silk Shading piece before I went to Bristol. I knew there was some tweaking to do but wasn't sure how to proceed, so I waited until I could talk to Kelley. Once I was in class again I added the greens and, of course, as you all said it would, the green color helped lift the white petals. However, it still wasn't quite right. So, at Kelley's suggestion, I put the photo upright next to my embroidery and took a long time to look at where the color, shadows, shading etc. were on the two pieces. It was difficult to "see" sometimes where the two images differed.
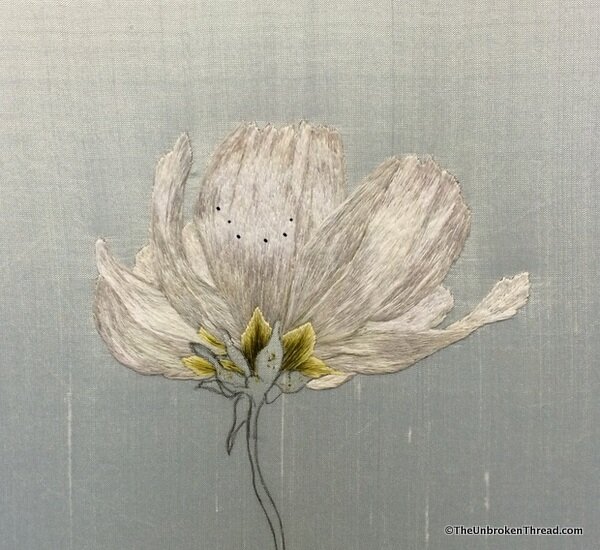
 Once I'd seen the first place where there was a difference, Kelley had me stick a pin straight down through the fabric marking where I needed to add stitches so the embroidery would look more like the photograph. I continued to add pins until I had a series of pins which clearly highlighted where I needed to add stitches. You can see where the pins were in the photo above - I've marked the photo with black dots. It worked a treat! The only tricky bit was stitching with the pins in the fabric. As I worked my way along the curve I took the pins out to save my fingers.
 It really was a matter of 10 - 12 stitches only and the improvement was amazing! I used a very pale lavender thread which was the color I could see in the photo. Suddenly the white area at the front/center of the large front petal really stood out from the rest of the flower just as it does in the photograph.
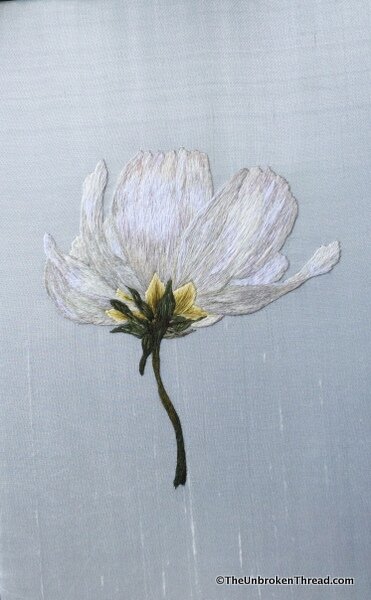
 The last thing to do was mount the piece. And, believe it or not, I did it! I used to hate mounting: it was tedious, it hurt my hands and I never felt I was doing it very well. It's still difficult and I wouldn't choose to do it all day, every day but I think I've finally got it!Now it goes off for assessment and then, dear readers, I will be finished with my RSC Certificate of Technical Hand Embroidery!Now, what's next?
