Acorn: couching stitches and berries
Once all the vertical laid stitches were in place, the next step was to put in the horizontal stitches and the little vertical couching stitches. While this won't look exactly like Bayeux stitch, it is a variation of Bayeux stitch. There are loads of laid and couched stitches that embroiderers have used over the centuries, many of them used to save thread when it was either costly, hard to find or both.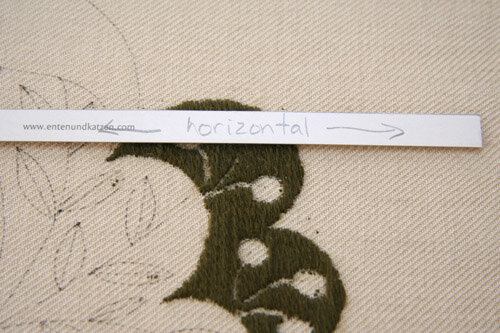 The vertical stitches are not worked the way one would a satin stitch - going up at point A, down at point B and back up right next to point A again, running a length of thread under the fabric that can't be seen. These stitches are laid coming up at point A, down at point B and back up right next to point B again. On the back all you see are tiny stitches and on the front is where all the thread is used.To help keep the stitches from moving about, the vertical stitches are then held in place using long horizontal stitches couched down every so often with a tiny vertical holding stitch. The tiny stitches are arranged in a brickwork pattern. In the case of this particular piece, the horizontal long stitches and the couching stitches are 1 cm apart.To ensure that the horizontal stitches were all parallel I used a template to measure the distance between each row. I also used it to measure the distance between the holding stitches so it would be as geometrically accurate as I could make it.Do you see all those little spaces in the green laid work? Those are the spaces for the stems and the berries - delicious orange, fall berries.
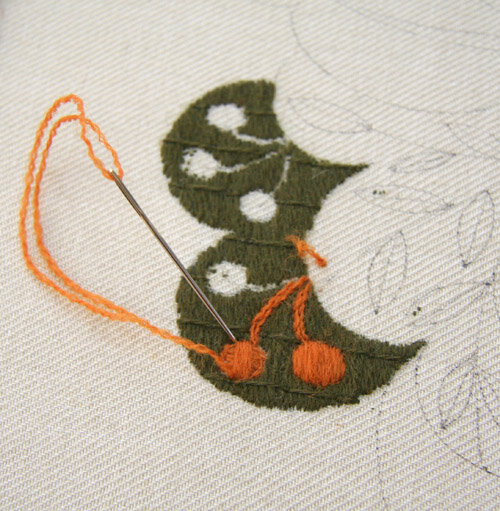 When working a piece of embroidery, it is traditional to work the background first, then the foreground. This is why the instructions were to stitch the entire laid work background first, leaving channels for the stems and circular spaces for the berries.
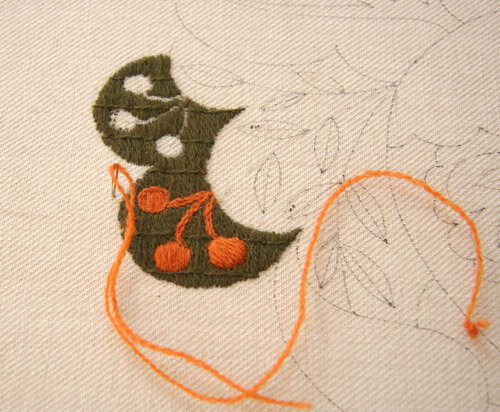 The stems are done with two rows of stem stitch. The berries are first outlined with split stitch, then padding stitches are laid perpendicular to the final satin stitches on the top. You can see all the elements of the work in the two photos, one above and one below of the finished area.
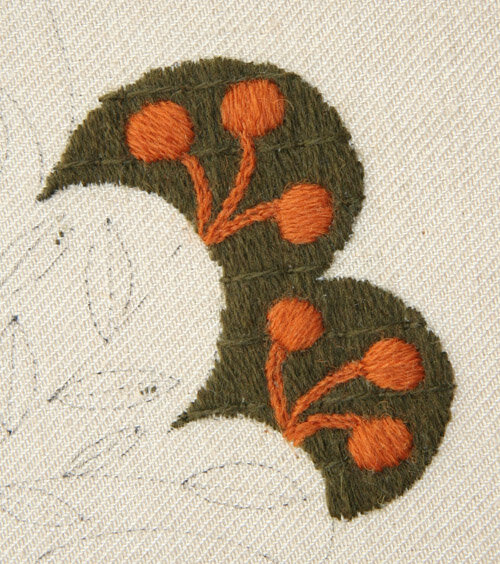 The first little bit is now finished and, so far, I'm pleased. I sent Nicola the photo above to check that what I'd done was what she'd imagined and she responded "Clever Kathy - this is exactly the thing! What a joy to receive." Hooray!
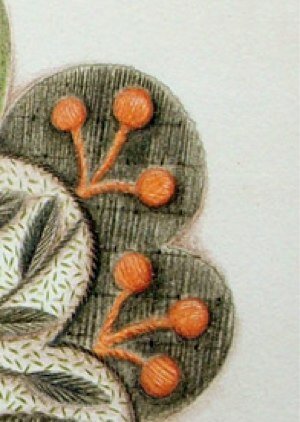 And it looks like the picture!
