RSN Goldwork Day 8: Mounting
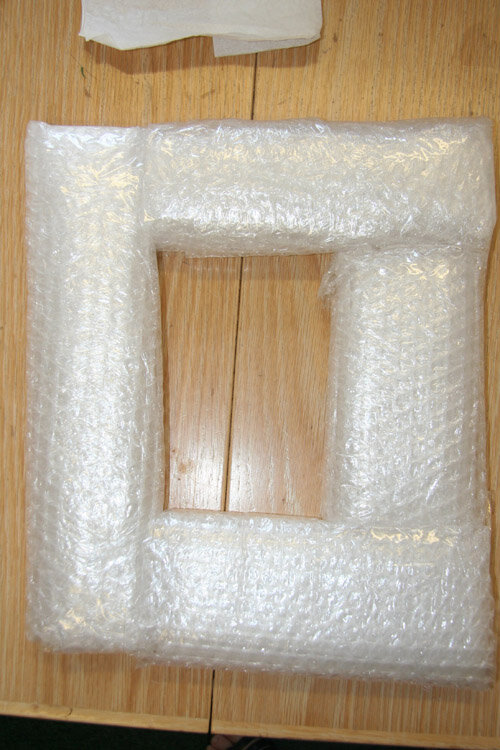
The metal thread is now all finished. The Bishop's Crosier glitters in the sunlight and I am so pleased with the result.There is, however, one more thing to do: mounting. Last year I had a terrible time with the mounting of my crewel work piece. By the time I was done with the stitching I had only a half day in which to mount the piece. In the end, I took it back to the home where I was staying to finish off the last few stitches. I was rushed and, when the assessors looked at the finish work, they could see I was rushed.This year I had more time and a little experience so I was able to approach the mounting process in a good frame of mind.For step by step instructions on how to attach the calico to the board, please look at this post from last years RSN course. After gluing the calico to the board, we placed batting or wadding between the goldwork piece and the calico, cutting it just a tiny bit smaller that the board. The goldwork piece was then attached using straight pins pushed into the edge of the board all the way around. To keep the tension even, I began with one pin in the center of each of the four sides and stretched the silk quite firmly as I added more pins. I had to stretch and re-pin a couple of times to get all the bubbles out. Now it was time to use the medium sized curved needle to attach the silk to the calico on the back. Using a herringbone stitch that was very large, I stitched the silk onto the calico. Throughout the next part of the process I used a bubble wrap frame to keep the goldwork safe from being flattened. It made the job 100% easier than it would have been with out the bubble wrap frame!Next I had to fold the corners of the silk in, just like an army bed corner. The corners needed to be flat, with no bumps or gaps. I placed the goldwork piece upside down on the bubble wrap frame and folded and pinned the corners. Once Nicola was happy with how things looked, it was time to start stitching the corners down, making sure no stitches showed at the tips of the corners. Anything that would later be covered by the sateen backing was OK. It took a few tries to get the corners to an acceptable level.
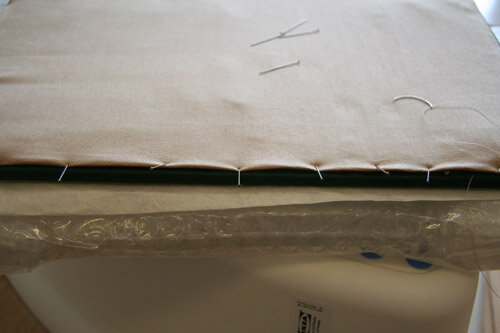
 Lastly I had to attach the sateen, covering up all the herringbone stitching as well as the folded in corners. The most important part of this last process is to try to get the edges in a straight line where the sateen meets the silk. This was hard for me and I re-stitched one side and part of another side to get it better. For the first time I felt comfortable with the dreaded curved needle! (on the right in the photo above)
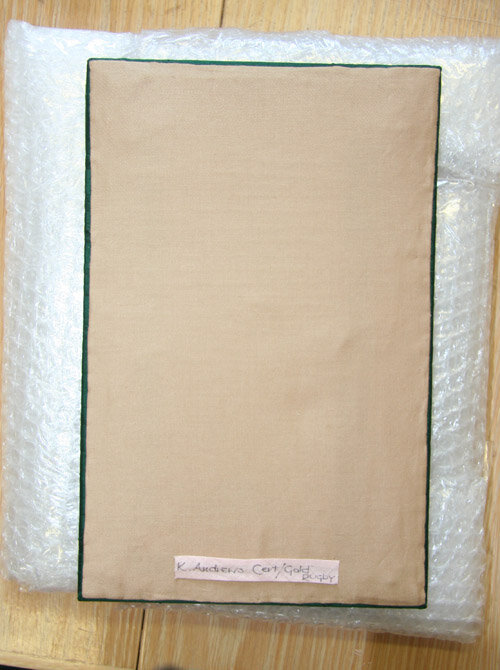
 The goal is for no stitches to show at all, anywhere. It still isn't perfect, but compared to last year, it's so much better! I felt 200% more comfortable with the tiny curved needle and can even imagine that I'll mount some of my other pieces now that I feel confident enough to do it alone. That's progress! As a finishing touch, we made a little name tag with our name, course name and Rugby Branch to put on the back.
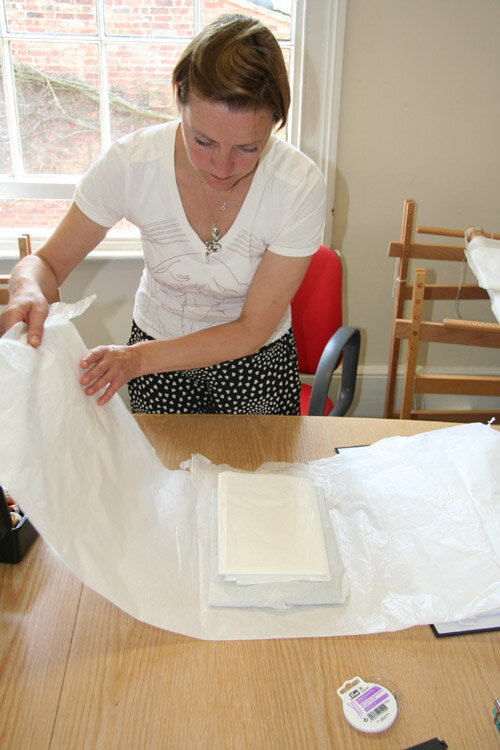
 The very last thing to do was to wrap the whole thing up in tissue and bubble wrap to be taken down to London, to Hampton court, for assessment and marking.
 Believe it or not, I didn't want to send it away! I felt very strongly that I didn't have enough time to gaze at and admire it before it was gone.Do you mount your own work or leave it to a framer? Do you think it's important to know how to mount work correctly? Why or why not? Share you thoughts with us!