RSN Goldwork Day 6: Cut work
Cutwork is the technique by which cut pieces of purl (bright check, wire check, smooth and rough purl) are sewn down over padding. The padding can be string or felt. The decoration at the end of the crosier is done over string padding which tapers at either end. I used smooth and bright check purl. There were three challenges I had to overcome when doing the cutwork on this piece: cutting the purl to the correct length, sewing it on without bruising it, and avoiding bruising a piece that was already in place when my needle came up from the back. I'll talk about these three challenges and recommend goldwork books for more specific instructions on how to do cutwork.Each piece of purl must be cut to the correct length so it will fix exactly into place. If it's too short there is an unsightly gap at the end; if it's too long it buckles and splits and needs to be removed. The only way to cut the purl is to measure it by eye. I thought I could be more exact with the little ruler I taped on the inside edge of my velvet lined tray, but that did NOT work. The differences in the length are often too small to be measured. The good news is, that if the piece is too short you can use it later on a tapering shape and if it's too long you can trim it a teeny bit so it fits.
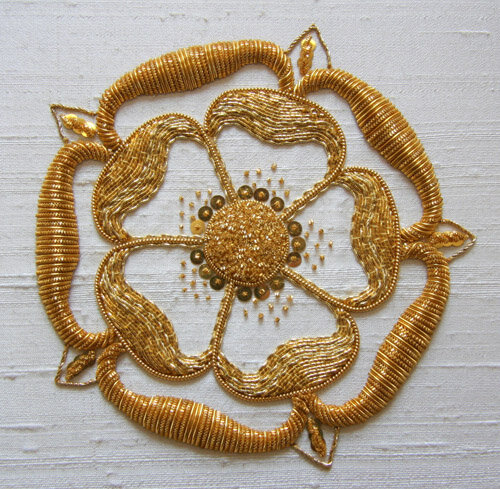
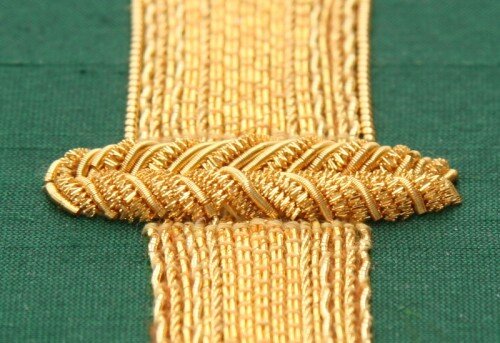 The needle is brought up through the fabric where you want the purl to lay. Once it's through the fabric, you must pick up the little piece of purl from the velvet tray using your needle and then carefully slide it down the thread (double thread, waxed) to the spot on the padding where you want it to be. If you're not careful, it's possible to poke the purl piece with the needle as you pick it up and make a tiny split in it, making it less than desirable. The goal is to have all the smooth purl smooth, not split anywhere. Most of the time I was successful and I found the bright check purl (the bumpy, sparkly one in the photo) much more forgiving than the smooth.However, once I'd gotten a piece on the padding, I then had the final challenge of bringing the needle up next to the piece I'd attached without accidentally stabbing the piece of attached purl with the needle as it came through the fabric. You can see where I stabbed a piece if you look at the photo above, on the bottom, 4th smooth piece from the left.Purl is a beautiful thread and looks just wonderful but, for me, was the least forgiving of any mistake in technique. With a little more practice, though, I'm sure I can improve. I understand it now and know what the pitfalls are. One of the things I like best are all the effects you can get by combining the different kinds of purl.A fellow student in the class, Suzanne, used a lot of cutwork on her piece for the certificate. She chose a Tudor Rose for her design and used many different symmetrical patterns in the piece. Her cut work is just gorgeous! The photos below are of her piece, with her kind permission.
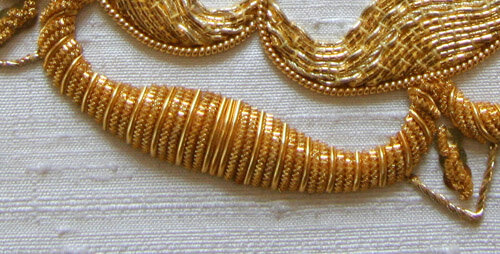
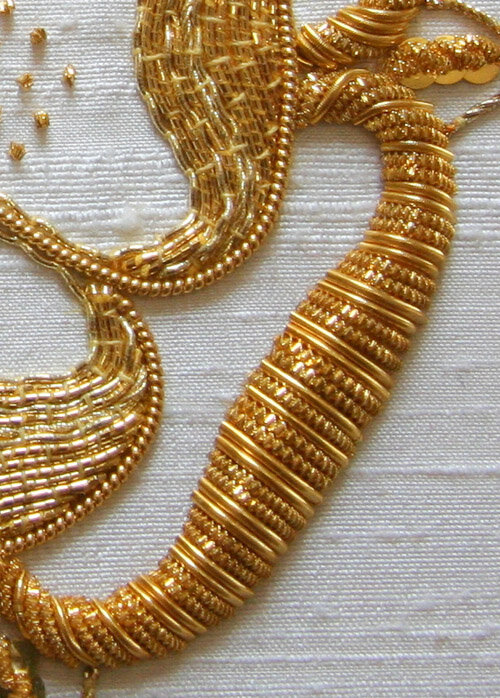
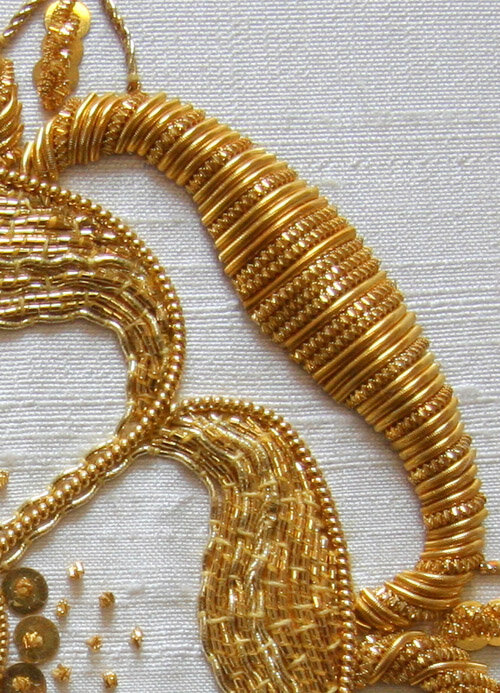
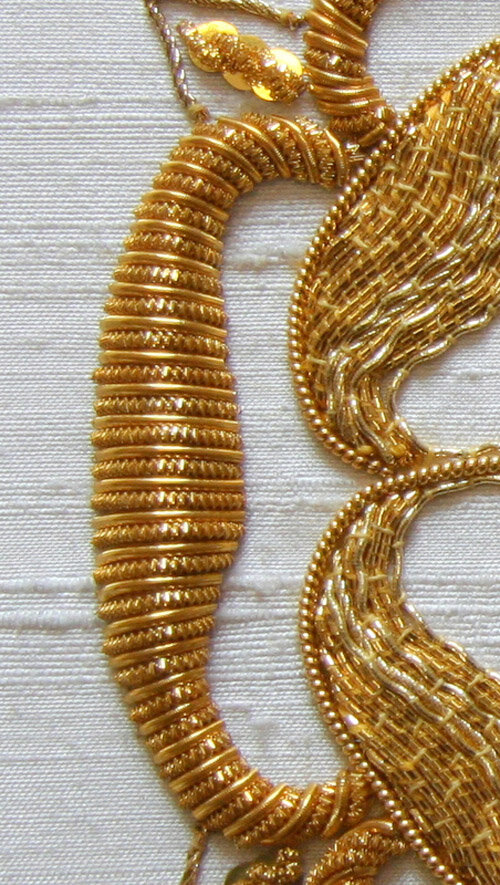
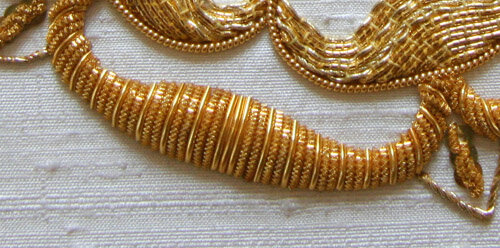 AS you can see, the cutwork on this beautiful piece is done standing alone on the fabric, not right up against the laid Japanese thread as on mine. In my piece, the cutwork is a decoration in the design and in Suzanne's it's the design itself. Both of these are effective ways of using cutwork and both are beautiful applications of the technique.I'll let you see Suzanne's entire piece, but you'll have to wait to see mine finished for a few more days!