Gentle shading - Royal Persian Blossom
This is the most subtle long and short shading I've done so far. The two shades of blue are very close so the shading isn't as obvious as it is in other places in the Royal Persian Blossom design.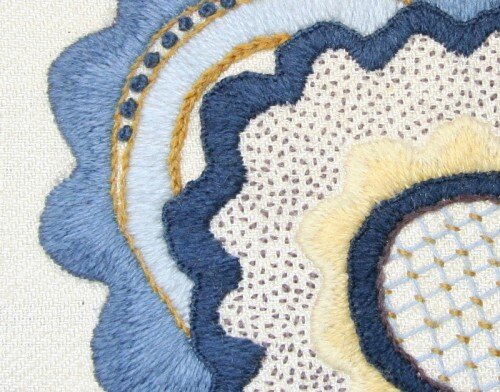 Did this make a difference in how I stitched it? Well, yes and no. Usually long and short shading is done to mimic variations in color in something from nature: a leaf, a flower petal, the fur on an animal. What's most important then is to pay attention to the shape as you're doing the long and short shading.What do I mean by that? When I'm working on shading a leaf, for example, I am thinking about the location of the light source and which part of the leaf would be a lighter shade of green in nature. When the shading follows the shape of the leaf it looks more natural.
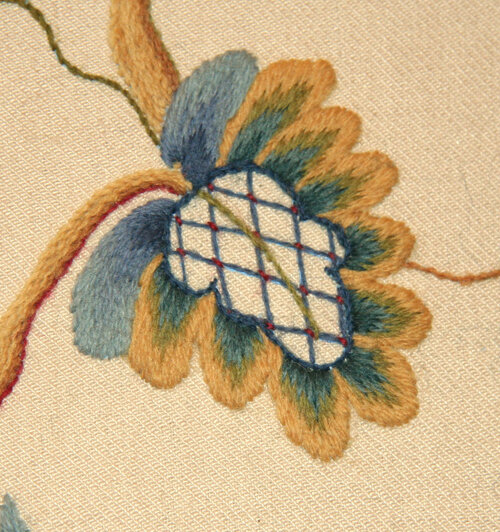
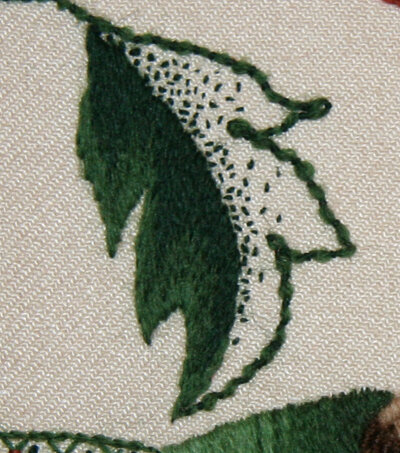 This leaf wouldn't look as good if the long and short shading was rounded. It's the pointed shape, with those few longest stitches that go right into the tip of the leaf that makes it look realistic. The leaf is darker at the center where less light would reach it in nature.Sometimes long and short shading is done to mimic real changes of color rather than changes of shade. Feathers and the leaves in this example from the Marriage Pillowe are two places where I've had to use different colors for shading. Again, the trick to success for me was to follow the shape when I did the shading. I thought about how leaves change color in the fall, how the colors shoot right through the leaves and tried to produce that effect.
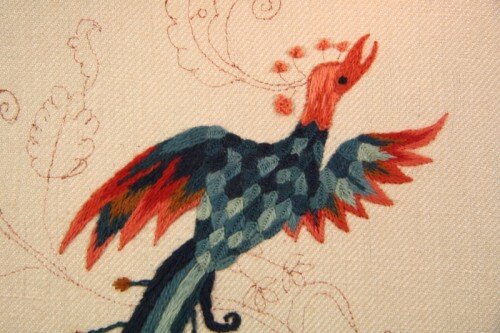
 The feathers on the Phoenix might not even be classified as long and short shading, since they aren't really shaded. However, they do give the impression of layers of color, which is one aspect of long and short shading. When working the feathers, I had to be very careful to keep my stitches long. Often more of the stitch was buried than showed on top. The long, thin stitches mimic the length and narrowness of the feathers. If I'd made the shading rounded, it would have look silly.
 When it came time to do this long and short shading on the Royal Persian Blossom project, I knew I would need to carefully think about what the final result should be. This shape isn't from nature and the shades of blue used are so close it's hard to see the difference in some light.Following the gentle curve of each of the little bumps in the larger curved shape seems like a good place to start. As I worked, I began stitching in the middle of each of the bumps.
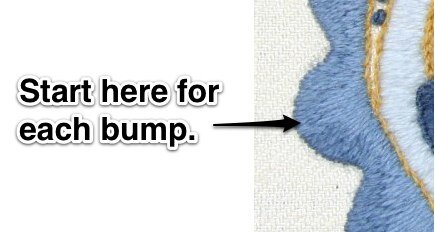 The first stitch was the longest stitch, going most deeply into the first color. The next stitch was shorter. The third was a little shorter than the first and the fourth shorter than the second. Because the shades of blue are so close to one another, the effect was like the shadow on the larger shape.
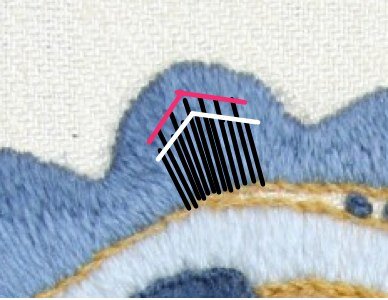 When I took this photo from the top of the shape, the shaded effect is even more pronounced. If I'd done a less rounded, more jagged shading the shadow effect would have been less beautiful.
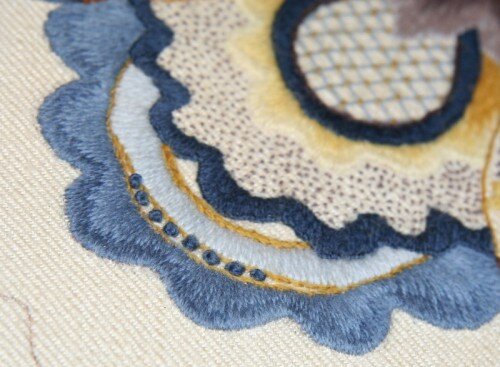 When looking at the piece from farther away, the shadow is still noticeable but very subtle.
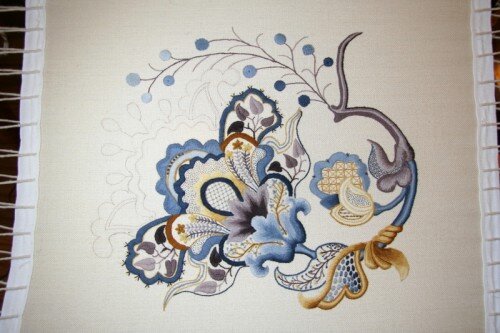 I'd not thought before of the different ways long and short shading could be used in a piece. I had thought only that it was for changes in color, as in a leaf or flower petal. Using these two very close shades of blue in this shape has taught me something - always consider what the effect is that the long and short shading is trying to achieve for the viewer. Is it meant to mimic nature or is it meant to be a shadow?Don't you just love all the discoveries we make when we embroider?! What have you discovered while stitching?
