Sometimes...LOOK at the picture!
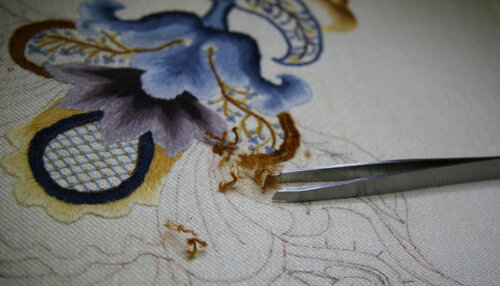
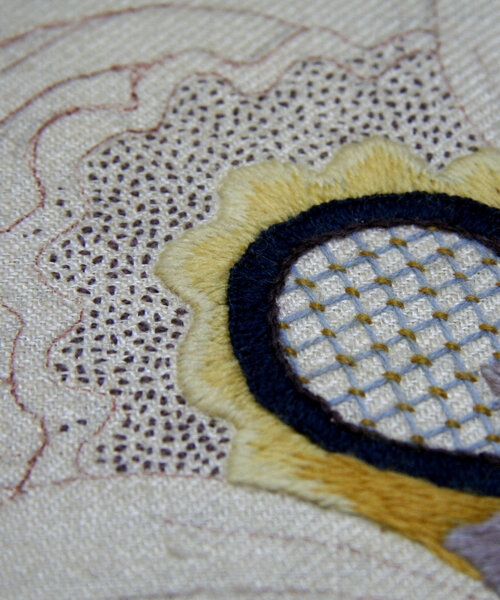
Sometimes I get so involved in the little area of a project I'm stitching that I lose sight of the big picture. Usually, this results in better workmanship since I'm focused on making every stitch as beautiful and perfectly placed as I can. But looking at the picture (as in the photo of the finished piece) can be pretty important.On the Royal Persian Blossom, I'm using thread that's different from the thread called for in the pattern so I had to write my thread colors into the instructions. The designer has cleverly left a blank space to do this in the instructions. Before I began the project I wrote in all the color substitutions - correctly. Sometime on Tuesday evening I picked up the wrong color (not the wrong shade but the wrong color!) and stitched an entire area of the design using the wrong color. I even took photos of it and posted it here. When I discovered my mistake, out came my tweezers. Fortunately, buttonhole stitch is quite easy to take out.Re-stitching it in the right color went quickly and it looks so much nicer now that the colors are right. The balance of color is far better and - best of all - it looks like the picture!The next area to work was filled with tiny seed stitches. They are easy to do but take forever to fill a space. Seeding needs to be done so that each stitch is as close to the same size as the others. It can be used to fill a space uniformly with color or to mimic shading by spacing the stitch closer together for the dark area and farther apart for the lighter areas.
 It's important that the stitches don't all go in the same direction or the effect looks regimented rather than random. The fabric has threads that run horizontally and vertically (warp and weft). If you make all your stitches go over the warp threads or all go over the weft threads, you'll end up with what looks like little dashes in rows. It's possible to work the stitch diagonally but sometimes the stitch slips under the thread of the fabric and the stitch disappears. I've found that splitting the thread of the fabric allows me to make a few diagonal stitches. Seeding stitches can be quite small, as mine are here due to the thinness of the thread, or larger as they are in the picture of the original. As long as they are uniform in size, they'll look wonderful.
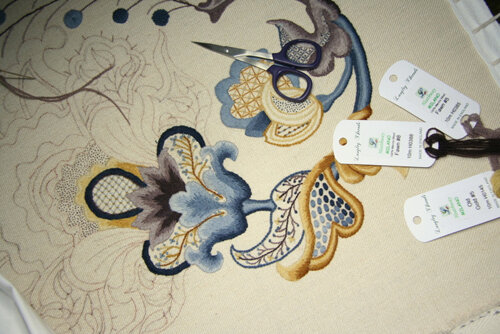
 Here's where I'm stopping for the weekend. It now looks like the picture and it's time to get started on the cap!
