It's fixed and moving along
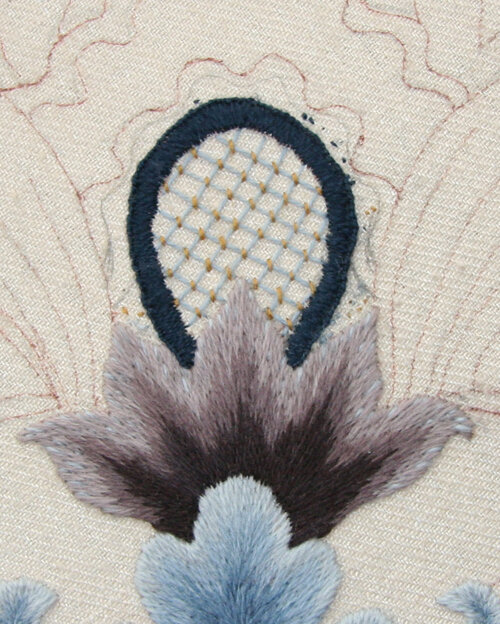
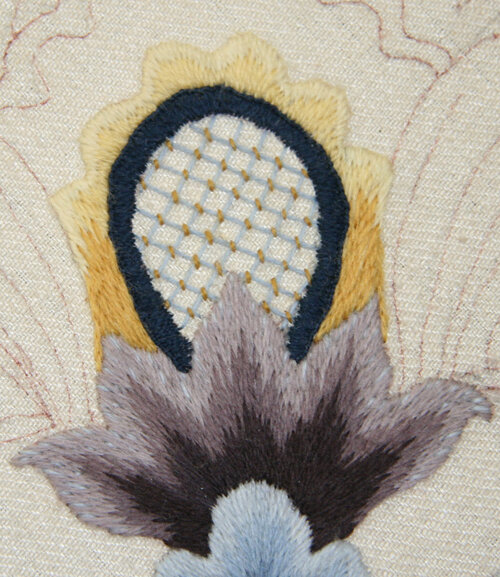
Before today's post I'd like to say thank you to everyone who sent me congratulations and well done wishes! What a great community you are!Vielen Dank! (many thanks!) and Liebe Grusse (lovely greetings)KathyThe uneven curve is fixed on the Royal Persian Blossom piece. It really only took a few minutes to take out the stitching. Buttonhole stitch is easy to pick out I discovered! Fortunately, the curve had to be moved in not out so the line that was drawn incorrectly was later covered by the long and short shading. After receiving my feedback from the RSN course, I can see in this photo that the inside line is not perfectly even. I admit I might not have noticed it before but I do now! Since the inner edge of the buttonhole stitching will be covered with stem stitch I'm not worried, but I see that I need to work on my technique some more.There is so much long and short shading on this piece that I'm getting loads of practice. One of the things I like most about the design and stitch choices are all the different shapes that are worked in long and short shading. This is a great way to learn about the direction of the stitches in long and short shading and what works best in what kind of shape.
 You can see the gold long and short shading in the photo above is all worked vertically. I would have worked the L&S shading in line with the buttonhole stitching and not vertically as it has been worked. This would have been a mistake for two reasons (and maybe more that I haven't though of!). Firstly the space would have been very short which means that the shading would have been quite abrupt. Three colors might not have worked very well. Secondly, the line of the stitches wouldn't have been connected so well with the lines of the shading below. I'm learning.
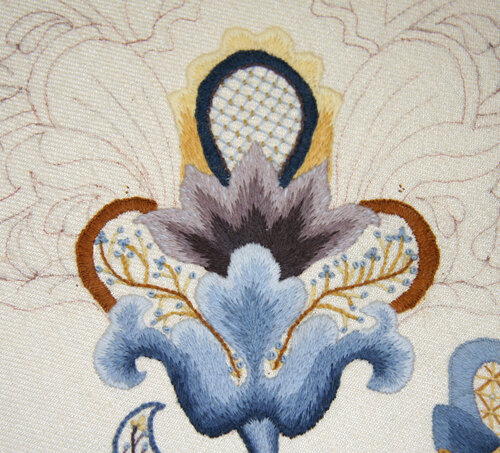
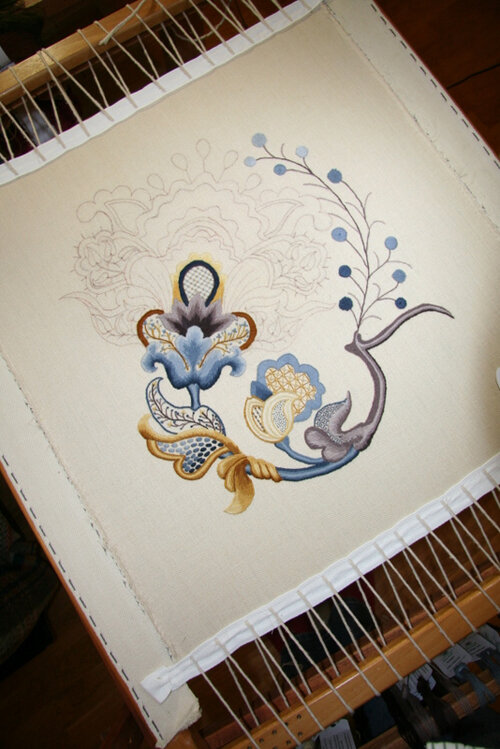
 When it came time to work the little branches of flowers and buds, I needed to take time to transfer the lines onto the fabric. This was one of the areas where the pounce made blurry lines and I had to brush it off. In trying to transfer the lines of the branches, I made a mistake and I discovered a solution: well, 1 out of 2 isn't bad.I traced the design of the flowered branches onto two small pieces of tracing paper. Then I tried to use a light behind the already stretched and mounted fabric to trace them on to the fabric. No luck. I couldn't see the lines at all. The I colored on the back on one of the pieces of tracing paper with a pencil, thinking I would make my own carbon paper. Well, it worked alright - but I got carbon all over the fabric in addition to the lines I needed. Rats.The solution came when I used the point of the pencil (which I sharpened to a very pointy point) and pierced the tracing paper with the pencil, making dots on the fabric. Then I connected the dots (while referring to the design to make sure I was doing it right) and it worked. It was a bit like prick and pounce except I pricked with the pencil and the wiggled the pencil back and forth a tiny, tiny bit to leave a little mark.Here's my progress so far...a lot done but a lot more to do!
 Do you have a tip or trick for transferring bits of a design after you've begun stitching? f so, please share it with us!
