
A new project: a Shaker Box
It’s been a long time since I‘ve written about the development of a new project. This morning, as I started to get ready to frame up my fabric, it occurred to me that it was time to write about one of my teaching pieces as it develops from beginning to end.
My projects are almost always inspired by an object. Here are a few examples; “the King’s Pineapple (a painting of King Charles II receiving a pineapple ) the Queen’s Pomegranate (the symbol of Catherine of Aragon) the Prince’s Thistle (a solid silver traveling canteen owned by Bonnie Prince Charlie) and Trevelyon’s Cap (a gentleman’s can from the 17th century). Additionally, my teaching pieces are inspired by history. This new project is also inspired by an object with history. What is different is that it’s an object in my own home with family history.
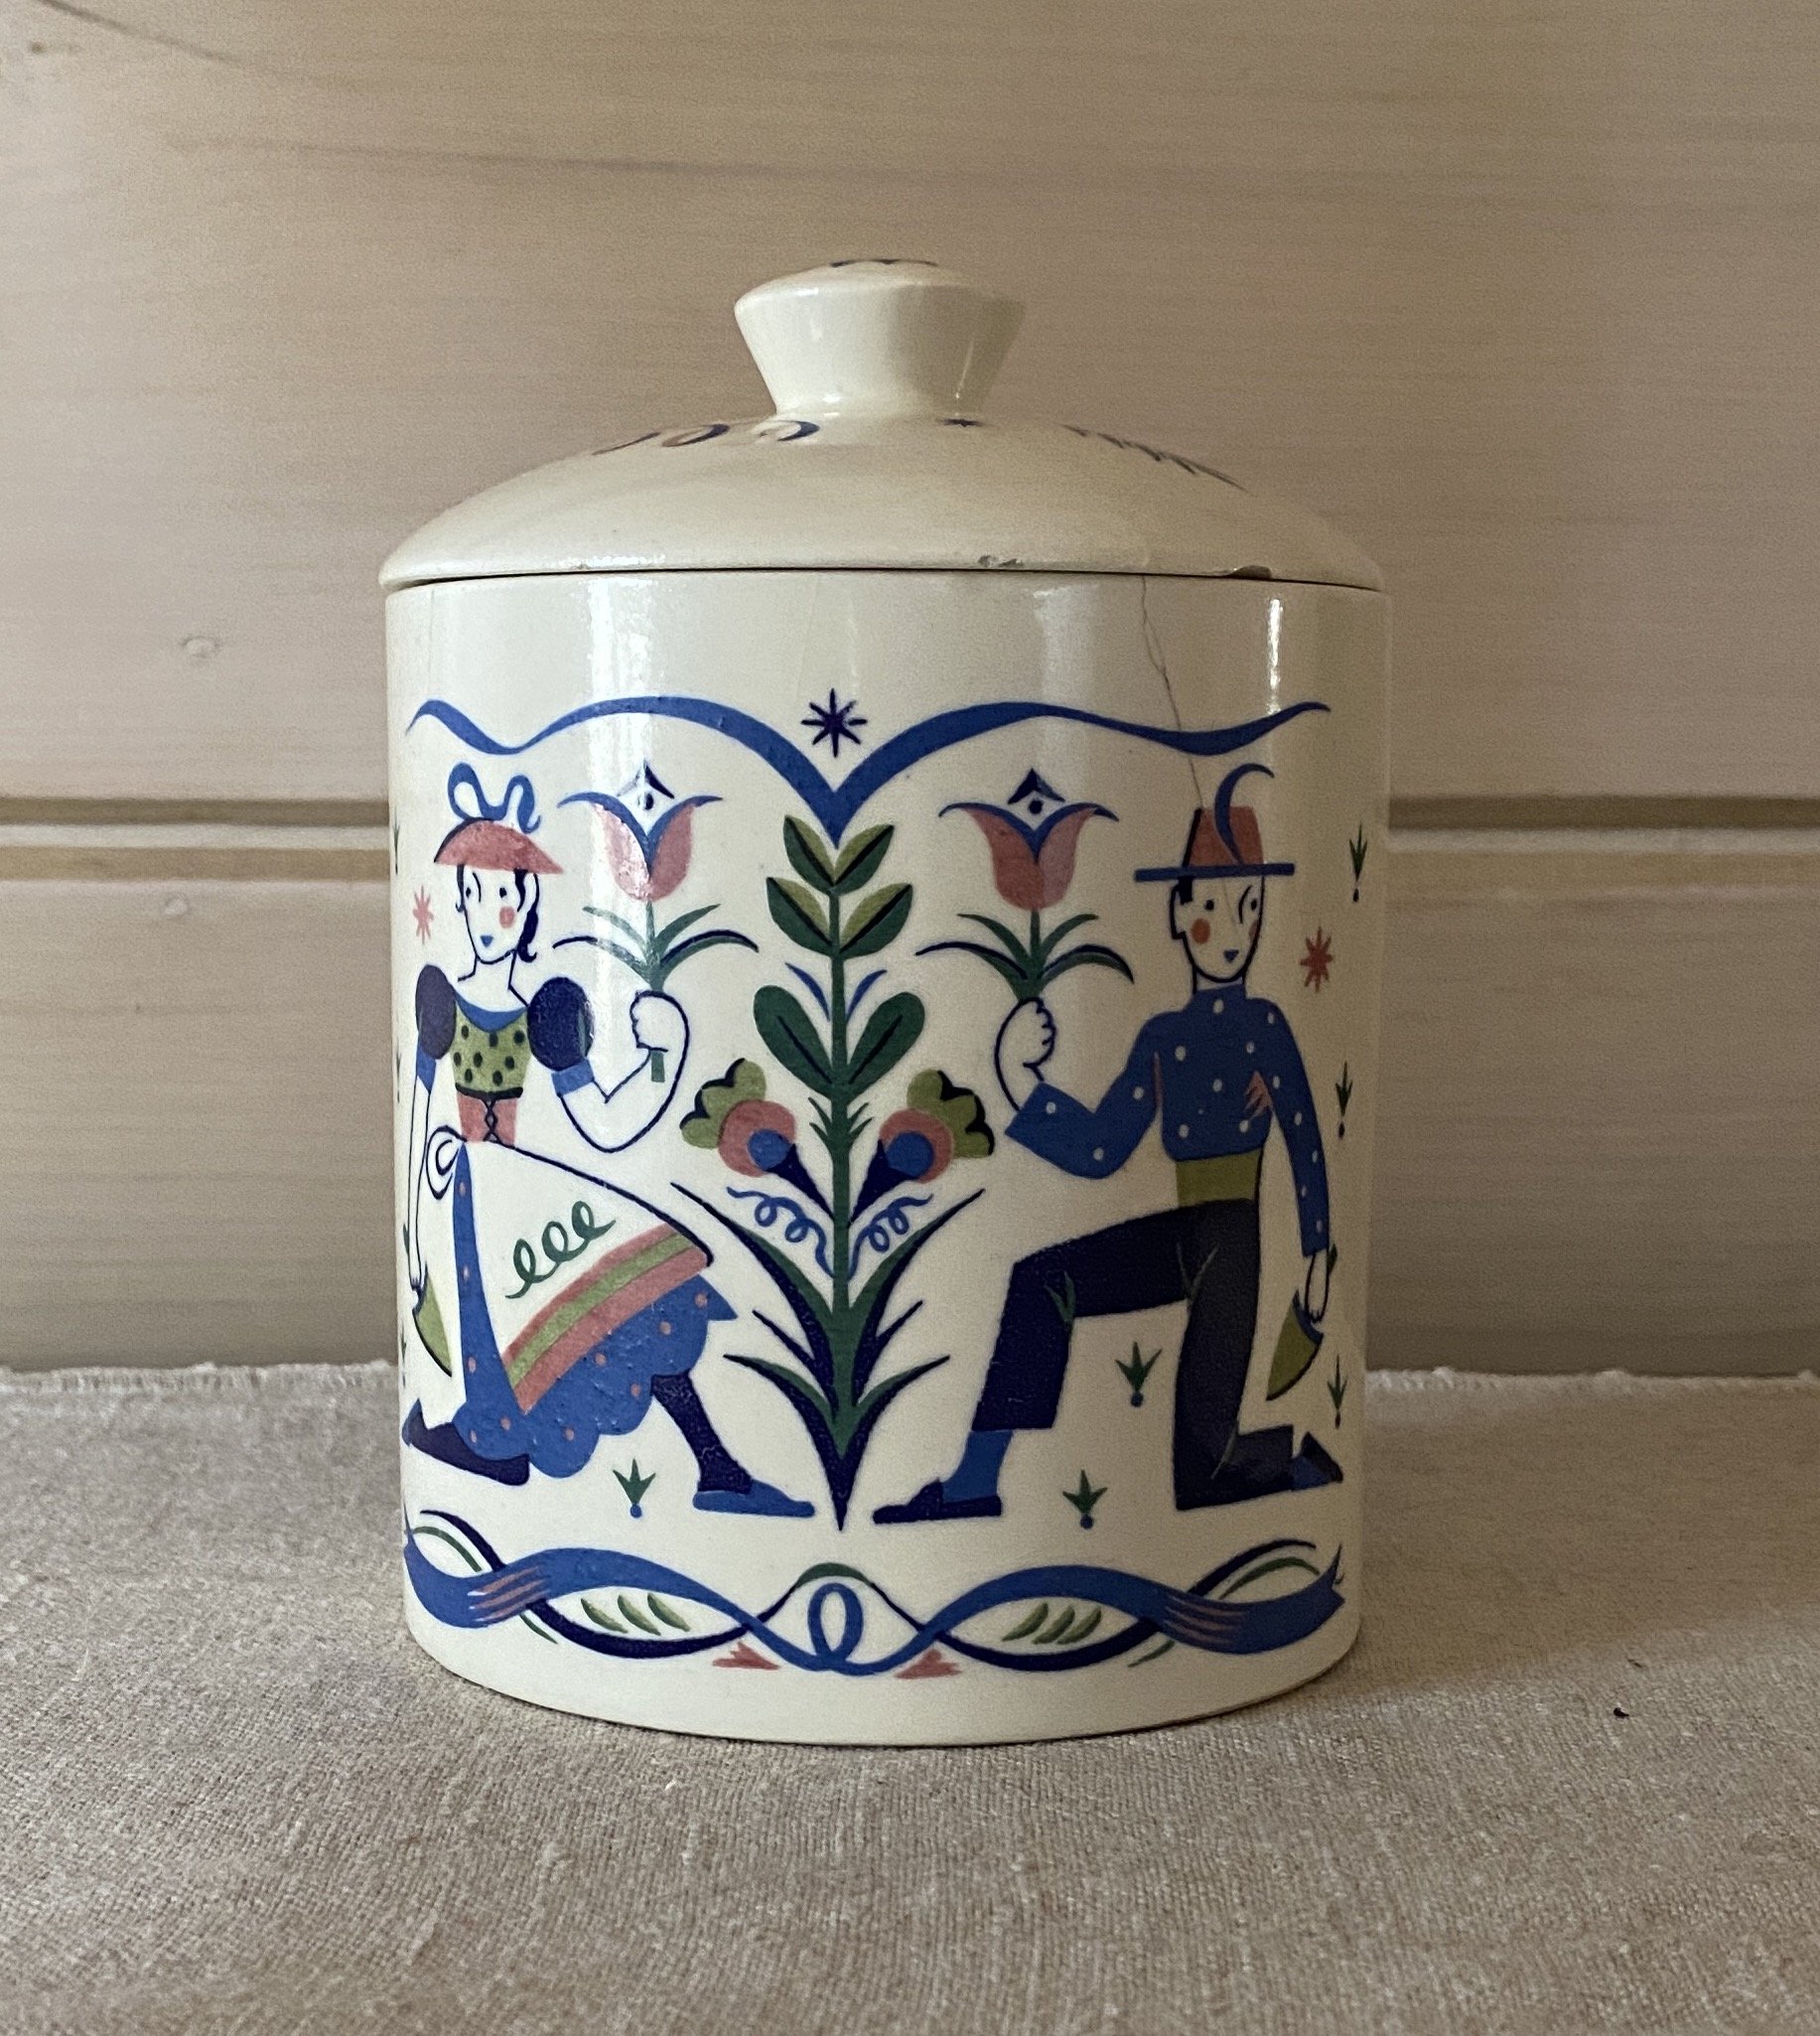
This small ceramic jar, or canister, has always been on the dresser in the guest room in my grandma’s house. It was on that same dresser when my parents lived here. And, as I’ve always loved that room, we haven’t changed very much; the jar still sits on the same dresser. It’s made by Webton Ware of Laguna, California and was made sometime in the 1940s. Every time I dusted in the guest room, I’d think that would make a good design for a piece and last week, I started a new project using this design.
The first thing I had to do was figure out how to create a flat pattern from a curved jar. I took multiple pictures of the jar and then cropped and resized them to create a flat image of the design.

The next step is to make an outline of the design that is useable as a pattern for embroidery. I begin always by drawing an outline of the image on a separate piece of paper using my light box. Then I take a photo and send it to my iPad where I use my Apple Pencil to clean up the tracing I’ve made.

As I’m working, the question of “What will this piece be?” is always in my mind. A pillow? A framed picture? I prefer not to just stitch something without having an idea of the final product. For this, I decided to have it be an embroidery inset into the top of a Shaker box.
An internet search brought up Hobby House Needleworks as having Shaker boxes in stock. I telephoned Kathy Mills, the owner, and explained what I was working on. She was incredibly helpful! I emailed a photo of the colored design to her so she could advise me on which shape box and type of wood would look best. She printed the photo, cut it out and placed it on top of the box she thought would work best and sent it back. Now that’s customer service! I’ll be using an oval box made of cherry to mount the finished piece on.

Now that I can envision the final project, I’m ready to move ahead to the next step.
Often, when working from an object, the design on the object is too fussy to work well as an embroidery pattern, so I have to simplify it a bit. This is when I use my iPad and Apple Pencil to tweak the design a bit. Once I’ve simplified the design so I’m happy it’s workable as an embroidery pattern, I print the design onto a piece of tracing paper which is what I will use to draw it onto the linen twill. If you look closely at the image below you can see the small differences between the first pattern printed on printer paper (top of photo) and the simplified pattern on tracing paper (bottom of photo).

That’s the first phase of the design process. This time it took about a week to mull over and get through everything up to this point. Next time we’ll look at how I choose colors and work out the stitch diagram.